Research Question
How effectively does crowd simulation interact with a given environment through the use of dynamics and simulations.
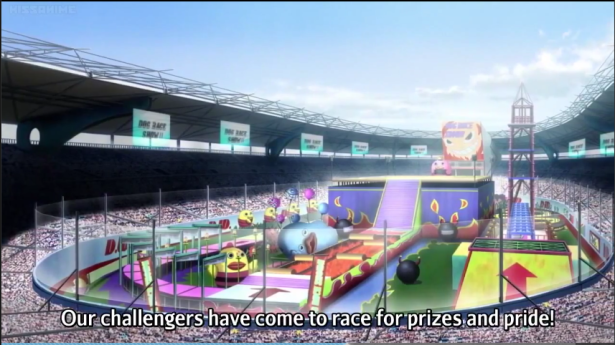
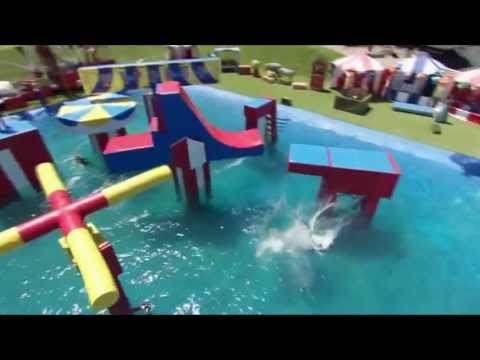
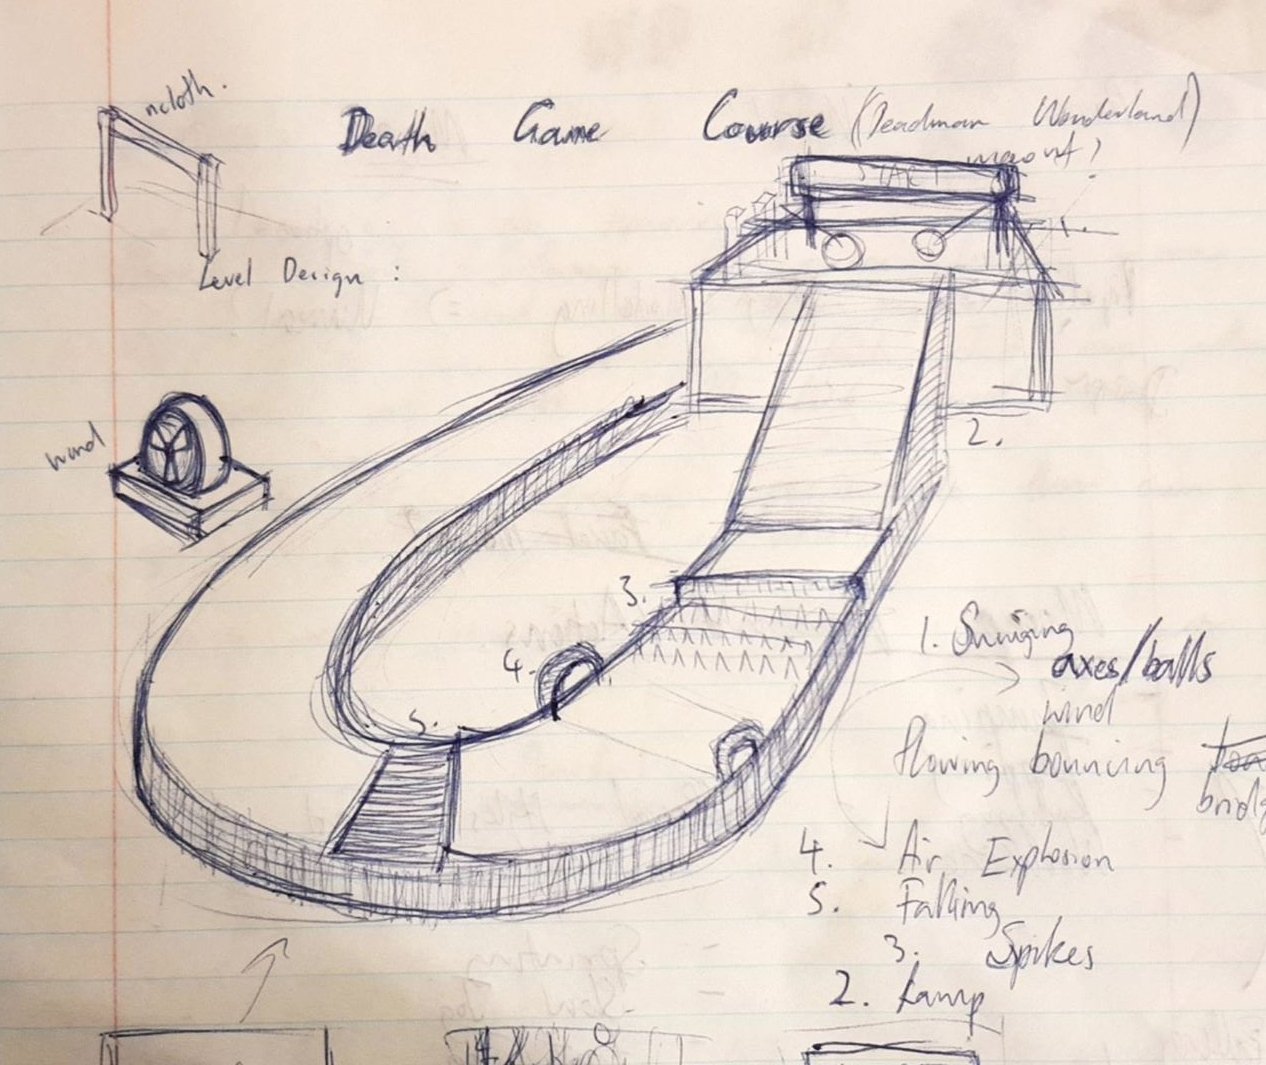
I wanted to create a crowd simulation games course where the “crowd” runs through a specified path with obstacles. I will be researching various game course designs, drawing inspiration from animes and game shows, such as Deadman Wonderland as well as Wipeout and various videos on youtube.
Design of Games Course Research


Obstacles
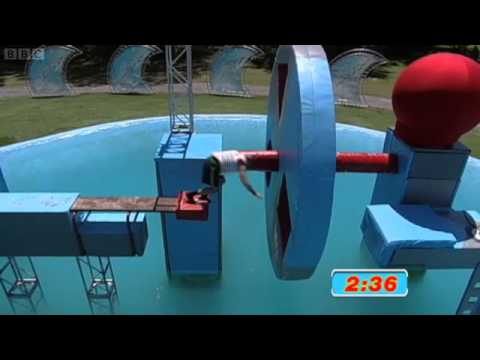
- Swinging balls
- Ramp
- Blowing Wind Machine
- Moving Floor
- Flowing Bridges
- Maze
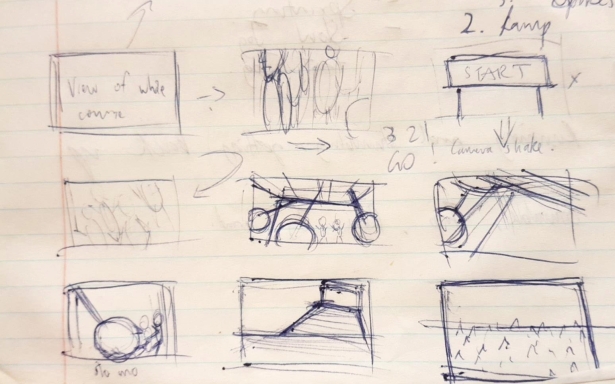
Concept and Storyboard:
Software Possibilities: Maya and or unreal engine for the games course. (Edit) After much thought the optimal thing to do would be to just use Maya instead of unreal because there is no real need to use unreal as I am not trying to control the crowd simulation as a player, rather I’d just need to see them via camera. I decided to stick with what software I have used before and developing on it also, as I haven’t done much modelling.
Learning Process Documentation:
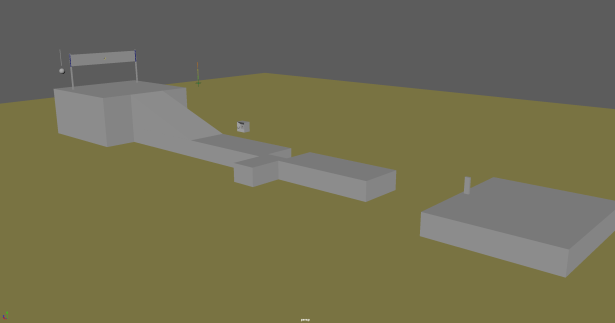
- Modeled games course environment with polygon primitives.
- NCloth Simulation
I created a simple cloth simulation that would make my cloth bounce up and down to give the scene more life and details. - Wind Simulation
I made a small wind simulation a part of the obstacle course to blow the running crowd over and to experiment with dynamics. - Ball Swing
I had to experiment with attaching a swinging ball to the obstacle course through various techniques such as making a small rig and animating it as well as nail constraint. The animating would cause me to hand key frame it to look like a natural swing and I am not very good at animation so I decided that the nail constraint seemed to be the easier option so I decided to stick with using that. After creating the nail constraint for the sphere, I parented a long polygon primitive to the sphere to make it look like a swing.
Tutorial used: https://www.youtube.com/watch?v=xuJoSsOZNfs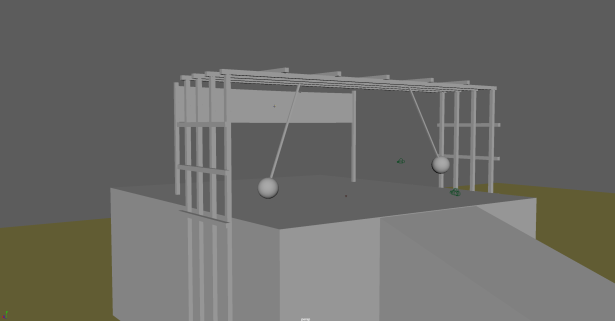
- I excluded the other obstacles I had planned and cut the obstacle course short, due to time constraints. There are already many dynamic obstacles the Original Agents will have to interact with.
- Crowd Simulation
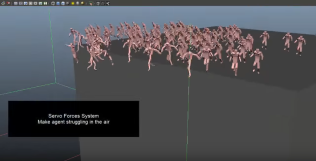
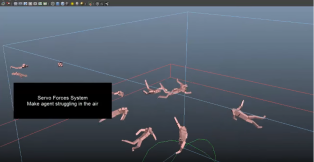
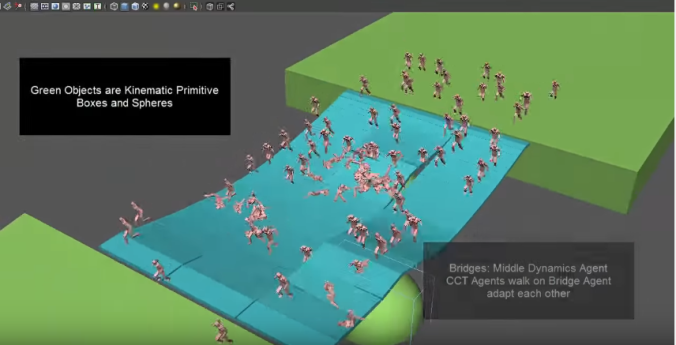
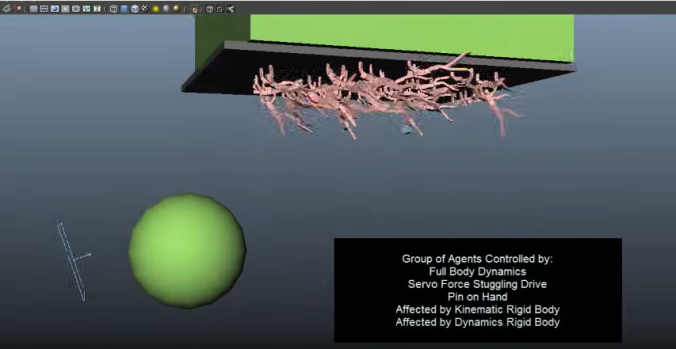
I was working together with Rebecca Hand on the shoot, clean up and crowd simulation part of the project. For the crowd simulation, this required us to motion capture shoot data. We then had to Cortex and motion builder clean the data up. Afterwards, we Imported into Maya and explored the Trax editor to loop the animation. This was a little difficult since our motion captured actor was moving forward but when looped, he would teleport back to the starting location to start his looped running animation again. To fix this we tried first key framing the motion into place by putting a locator down on his nose and key framing his motion in relation to the locator. This did not work and we attempted to lock the translation of the x/z motion in motion builder character’s setting instead. This worked and I was able to begin looping my running animation in Maya. Animation Editor>Trax Editor. We played around with this to loop the animation as well as create a faster running cycle as well as the normal cycle. When we tried to create a slow jog cycle, the looped animation started to move upwards into the air after each loop. - After all this, we started to explore miarmy and followed a bunch of tutorials to guide us on the way. Firstly we made our character into an original agent. We then had to edit these boxes which would control his collisions etc. We plugged in the “action” into the original agent with no trouble. However, I ran into further issues after all the work put into getting the Original Agents to perform the Motion Captured action. I tried adding both collisions, then dynamics decision nodes to the original agents so that when interacting with another object, it would interact and fall over. However, the collisions and dynamics were not functioning properly and would spaz out when attaching collision decisions and dynamic nodes onto the original agent. We ran through a bunch of tutorials to attempt to trouble shoot this, such as going all the way back to try fix our boxes, however this was not the issue. After many days of trial and error, we gave up on MiArmy and crowd simulation.
- Therefore, I changed my idea. I ignored the use of collisions and focused on aspects of crowd simulation that would not require dynamics and collisions. I ended up still wanting to do some sort of games course so I decided to make a maze for the crowd to run through. This would still use motion capture as well as crowd simulation but with avoiding collision logics applied to the simulation instead.
- I used this tutorial to quickly build up the maze assets. I created a plane, changed the plane’s texture to a maze file and clicked modify>convert>texture to geometry. After that I used edit mesh>extrude and created the maze.
https://www.youtube.com/watch?v=vwuQmvGybyA - After putting more thought into this and how much time I had left (less than 1 week) I decided to not do crowd simulation at all. Crowd simulation is obviously a sort of simulation and requires me to begin rendering/simulating at frame 1. Therefore I would not be able to transfer my files to render different parts of the sequence on different computers, thus slowing down render time. I would probably not have enough time to render and edit it all together by the due date.
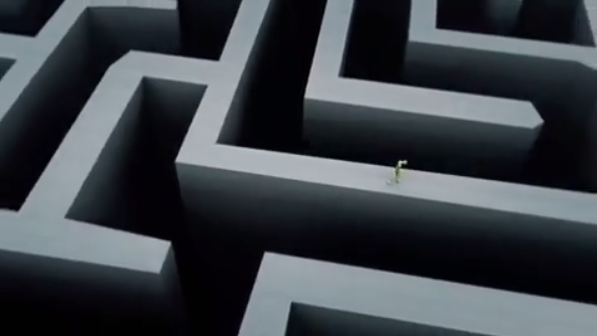
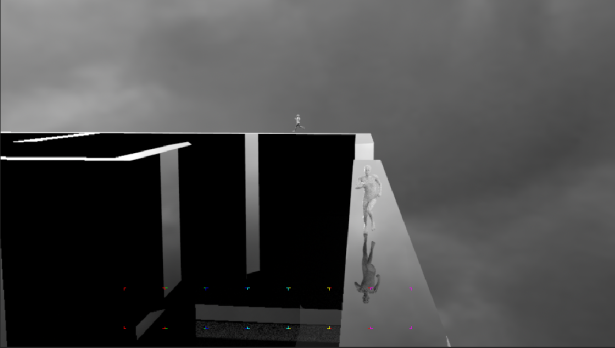
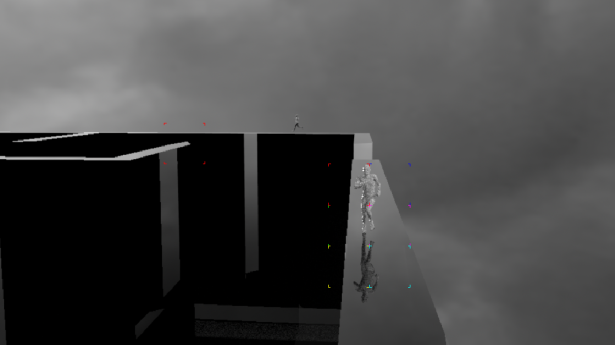
- I thought of possible projects that I could achieve within the timespan I had left. I saw this interesting video that inspired me to do something similar with my motion captured people. Therefore, just using my motion captured run cycle loop animation I created earlier, I created this running maze idea, which still incorporated a game’s course aspect to it. Instead of the conventional maze with people inside a maze, I decided the people could be on top of the walls and trapped on top, falling to their deaths, rather than inside and lost.
- However, problems that quickly arose were inter mesh penetration. Since in crowd simulation there was a logic node that was applicable that would enable the crowd to walk on top of the terrain. I just had to do my best to eyeball the character’s motion and the maze and match it up.
- I attached my motion captured animation to a motion path.
Draw the motion path by selecting the magnet icon beside “no live surface” whilst having my maze selected, so it becomes live and able to magnetically draw on mesh and objects so the path isn’t randomly in 3D space.
Shift select the character first, then the path, Animation>Constrain>Motion Paths>Attach to Motion Paths.
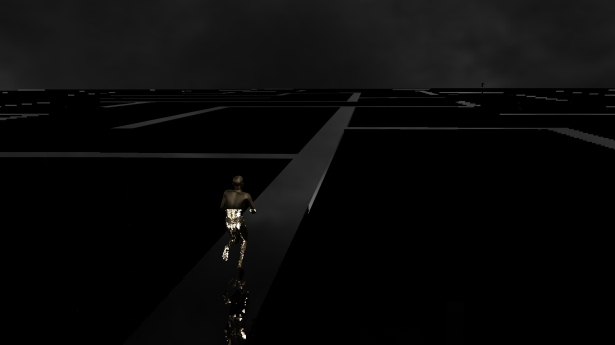
In the channel box, there will now be a motionpath input under my character’s master control. When I click on this, i can adjust the rotations etc. of my character. 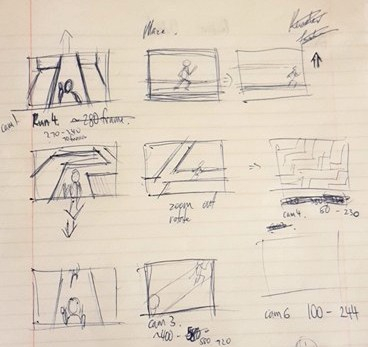 After setting all these up, I was able to start setting up camera shots, shaders, and textures. As seen in my idea generation/mood board, I wanted to go for a very minimalistic and monochromatic look to the scene, so just using white/grey/black. The characters in the scene needed a bit more “pop” to them so I made them more shiny and reflective with materials like gold, chrome, and glass. The maze looked very dull and plain when I tried it with the concrete type of look to it, as seen in my mood board. This was not visually interesting so instead I made the material highly reflective which made the scene much more dynamic.
- Experiments with lighting render
- Top one has exposure of dome light set to 3.25, whilst bottom is set to 1. Top one creates a nice gradient between the character and creates better reflections/shadows also.
- Top half of body is without directional light exposure, and bottom half of body is with directional light exposure. Bottom half of body is too shiny/reflective and over exposed, this was with the light intensity way down also. So i opted for the more matte looking finish rather than shine.
