Purpose and Brief
Build onto my main year long project of an Augmented Reality Art book Project.
An exploration of how augmented reality can be used within an art book to bring static images to life.
- To create own Augmented Reality art book with the theme being about the original dark versions of fairy tales.
In reality I can’t create a whole art book, so I will specifically be exploring the process of Augmented Reality and making it work for only one piece of artwork.
Ideas
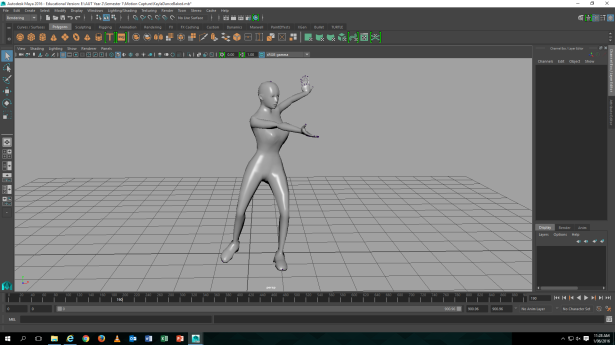
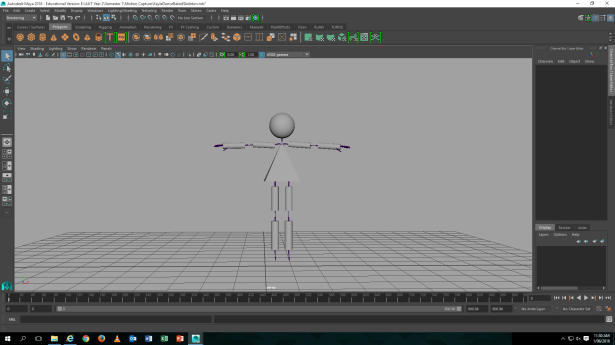
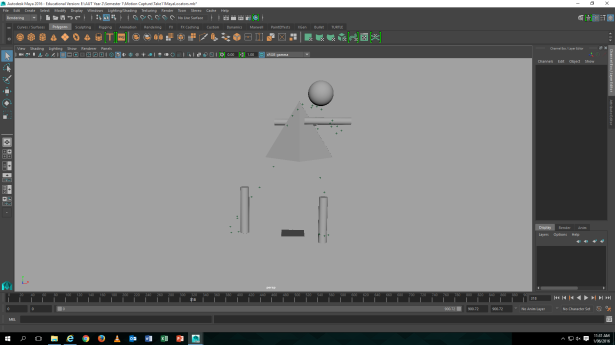
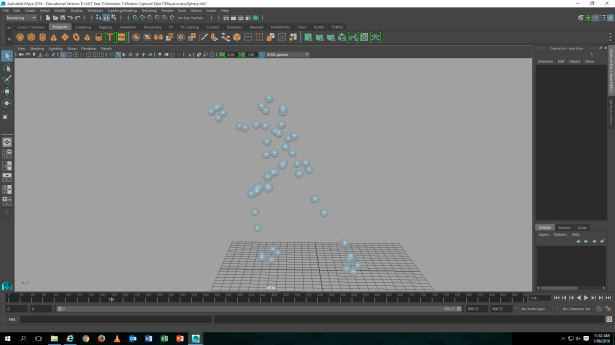
- Incorporating motion capture?
- Augmented Reality in 2D?
- Augmented Reality in 3D?
Research
2D AR:
")
")
")
")
")
")
")
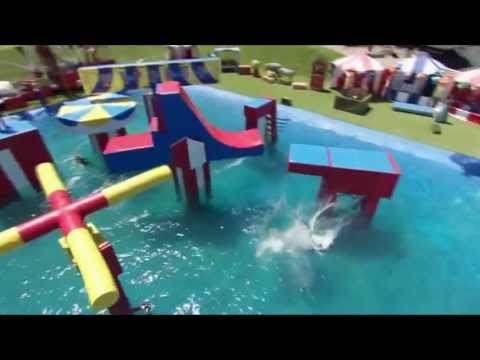
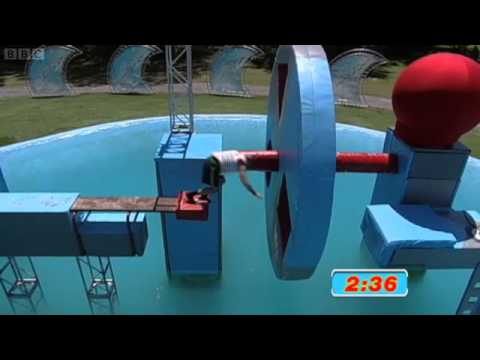
3D AR:


Tests: Before I started anything to do with my project, I wanted to test if the software would actually work and if I would run into any issues on the way. Vuforia and Unity seemed to be the easiest to work with and had many resources online compared to other Augmented Reality apps.
Unity Vuforia Process:
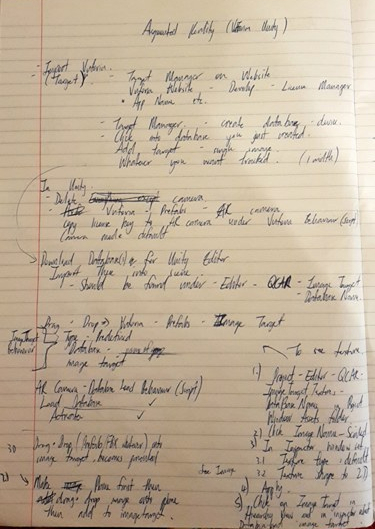
In Unity 3D, using the Vuforia plugin, I was able to attach both 2D and 3D objects to an image tracked object. Although technically the 2D is not really 2D, as it is a 3D plane, with an image attached to it.


For my yearlong capstone project, I had decided I would not be incorporating 3D elements, or motion capture.b Rather, I would focus on 2D aspect of Augmented Reality, much like the eyejackapp, where 2D Augmented Reality is overlaid on top of illustrations.
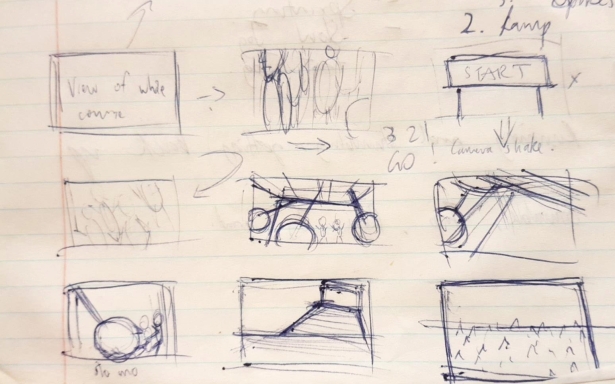
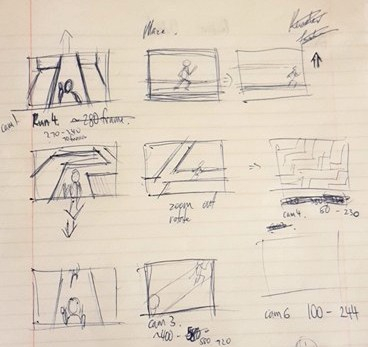
Possible scenes to test:
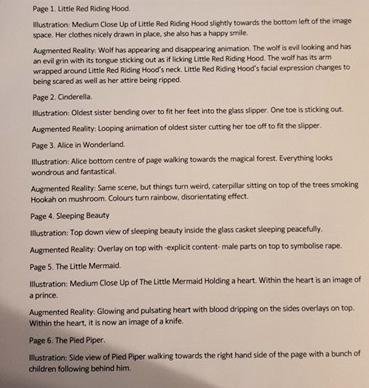
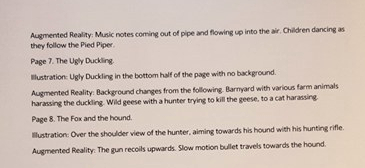
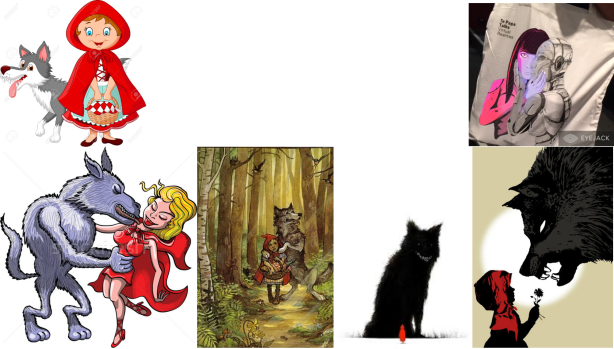
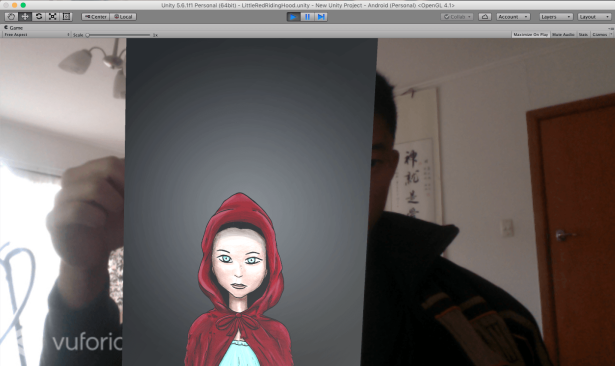
Chosen Scene: Little Red Riding Hood
I have chosen to explore the first page of my Augmented Reality Illustration Book: The Little Red Riding Hood.
MoodBoard:
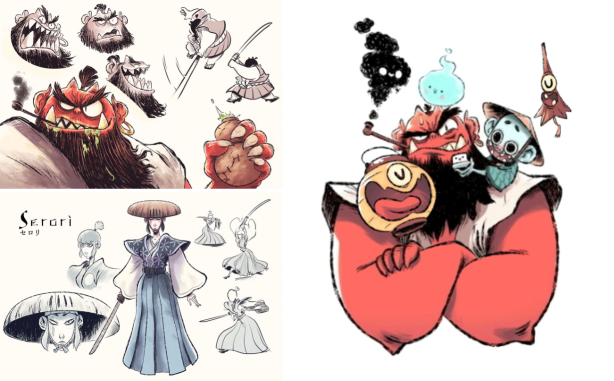
Layout/Composition Exploration:


WIP:
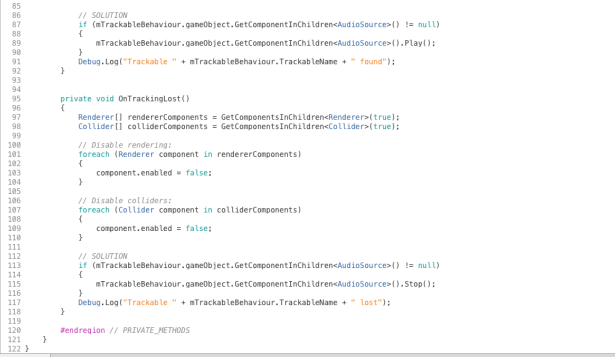
I drew up illustrations in Photoshop as well as the images required for Augmented Reality. I then imported all the images into premiere pro to make a video for the unity vuforia to read. I included audio, however the audio would play upon start up of the app rather than when the image target had been detected. Therefore I attempted to split the audio and video into 2 separate sequences. Following this tutorial (https://developer.vuforia.com/forum/faq/unity-how-can-i-play-audio-when-targets-get-detected), I created a audio source to attach to the image target. I then attached the audio file (must be mp3 format) onto the audio source and explored the 3D sound settings.
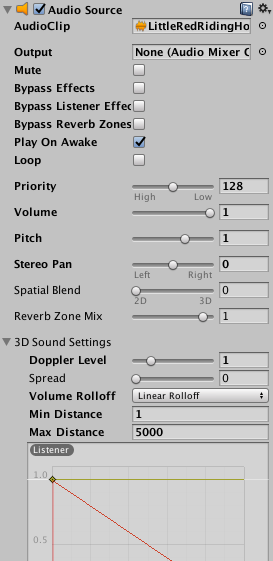
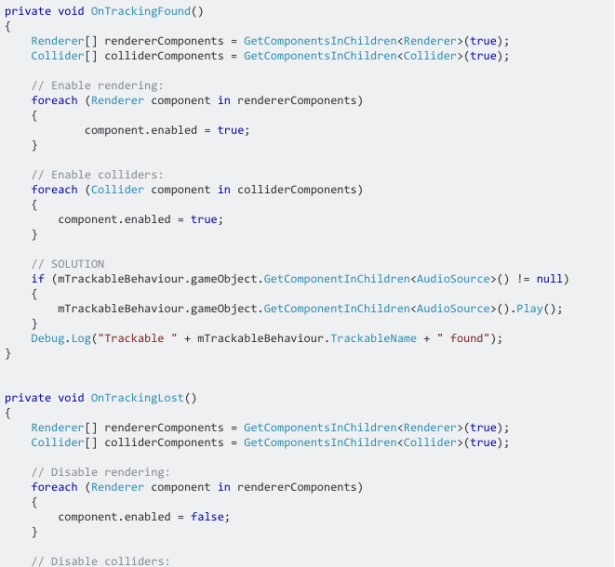
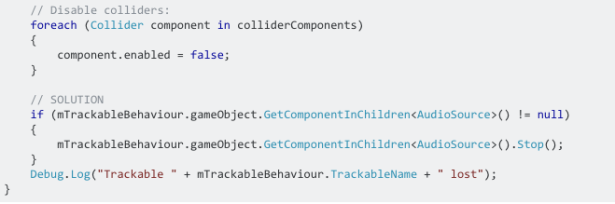
The “Play on Awake” component must be checked on, and the Volume RollOff was interesting to explore, as the audio’s volume falls off the further you are from the physical image target in real life. The Script suggested by the previous tutorial did not work, at least for my version of unity. I found another useful one that ended up working. (https://stackoverflow.com/questions/36924828/play-audio-when-model-renders-in-vuforia-for-unity3d). This tutorial aimed to modify the “DefaultTrackableEventHandler” Vuforia Script so that when the image target could not be detected/tracked by the camera, then the audio would also stop playing along with the image disappearing. As it was extremely weird hearing audio without the image being tracked.
After this everything I needed to do on Unity was completed, and just needed to export to my phone, as it functioned as I wanted it to on my webcam in the Unity game test.
Next, I wanted to export the build to my android phone so that I can view the AR not just on the webcam. This process was rather long, and required many other applications to be downloaded such as the Android SDK and Java Development Kit. I followed this tutorial step by step (https://unity3d.com/learn/tutorials/topics/mobile-touch/building-your-unity-game-android-device-testing) to build to Android. I had to install packages in the Android SDK application such as “Android SDK Tools”, “Android SDK Platform tools” “Android SDK Build Tools” and “SDK Platform”. I then had to adjust the build/player settings within Unity, adjusting the name was import in order for it to export correctly. Company, Product Name and Identification needed to be changed. And Identification had to be in a specific format such as “com.Sitepoint.ARDemo. When Exporting the build, I ran into multiple issues. Firstly, the location of the root folder of the Android SDK and JDK needed to be directed to, through the Unity Preferences. Next, there was a problem with the script, saying Found plugins with same names and architectures. I then had to delete a duplicate of one of the Vuforia scripts that I had accidentally imported in twice under 2 different folders.
After these issues were fixed, I was able to transfer the build to my android phone, I encountered a major issue. The build did not detect my tracking marker image and the camera looked out of focus. I looked to solve the camera focus issue first as this could’ve been why it wasn’t detecting properly. The camera could not focus when the application was open, and it was the phone camera’s problem, as I also tested every other application that used the camera and they all functioned properly. I then tried adding a script onto the AR Camera in Unity which was supposed to fix the auto focus issue.
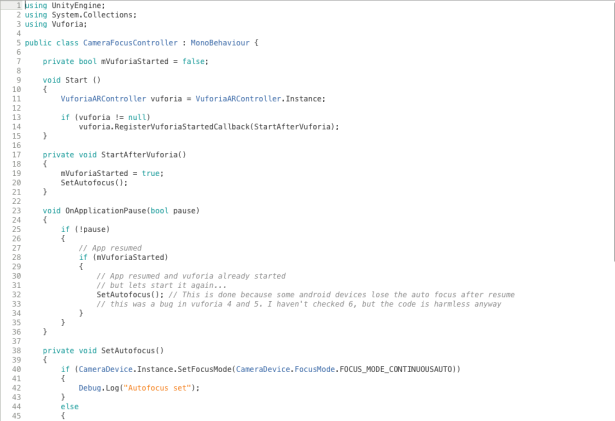

However, I found no visible difference when I re-built it to my phone, and the camera still refused to detect the image and overlay AR on it, even though it worked perfectly on my webcam in Unity.
I researched on google and through all of the Vuforia unity android forums but could not find anything relevant to solve my issue. I wonder where the problem is occurring, and if it’s a specific problem when exporting vuforia to android phones (or a specific software update).
I was unable to successfully export the build from my mac to android phone.


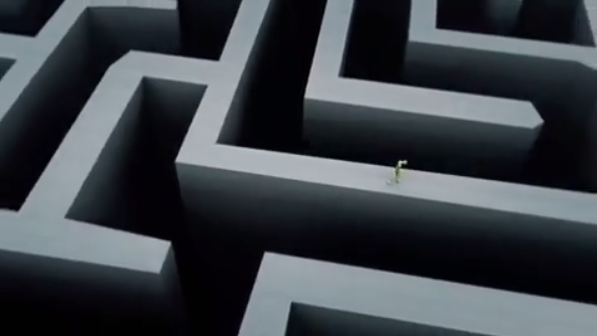
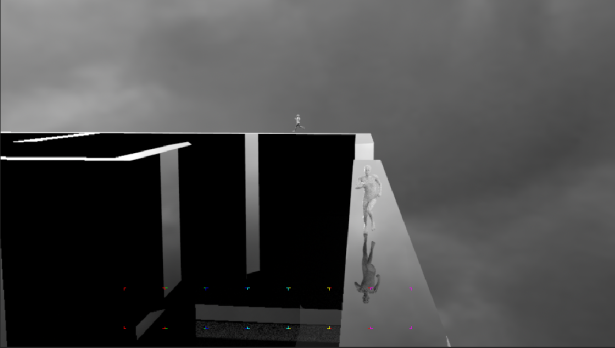
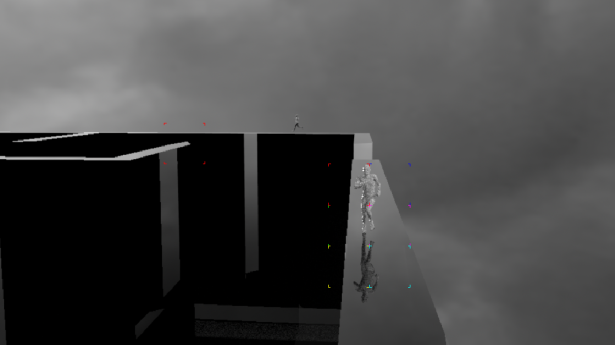
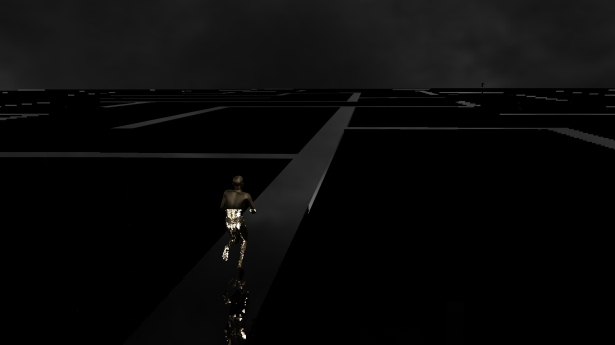
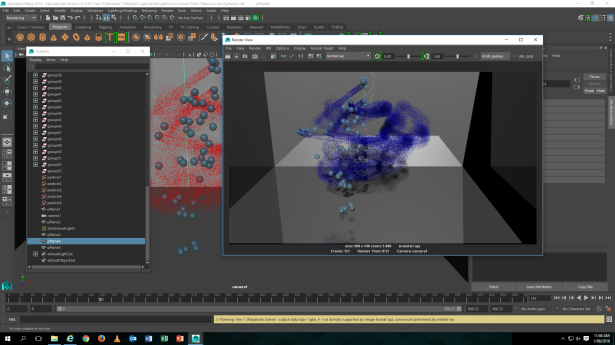
 After setting all these up, I was able to start setting up camera shots, shaders, and textures. As seen in my idea generation/mood board, I wanted to go for a very minimalistic and monochromatic look to the scene, so just using white/grey/black. The characters in the scene needed a bit more “pop” to them so I made them more shiny and reflective with materials like gold, chrome, and glass. The maze looked very dull and plain when I tried it with the concrete type of look to it, as seen in my mood board. This was not visually interesting so instead I made the material highly reflective which made the scene much more dynamic.